|
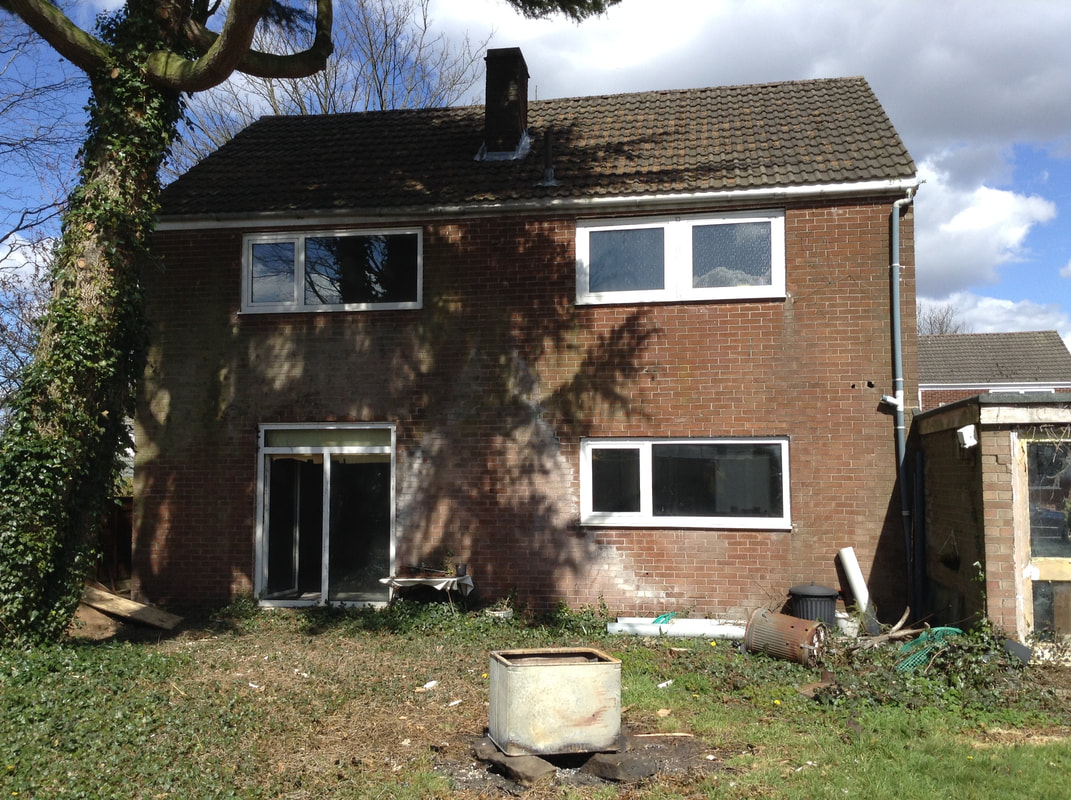
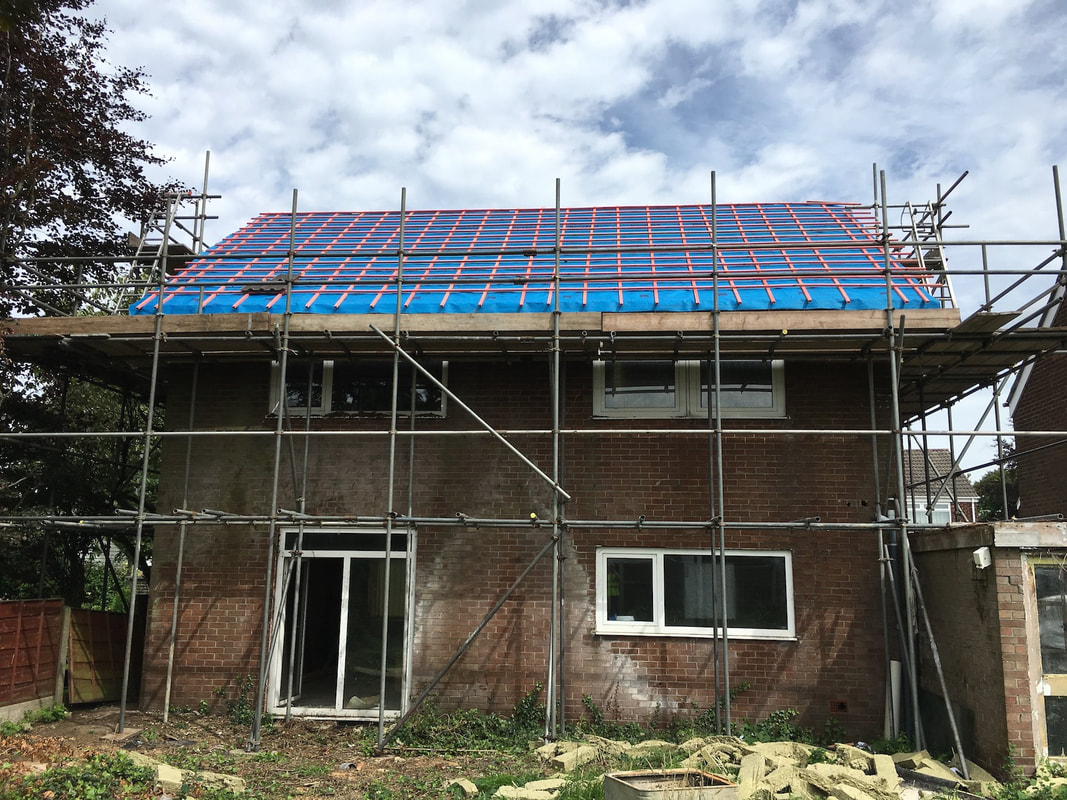
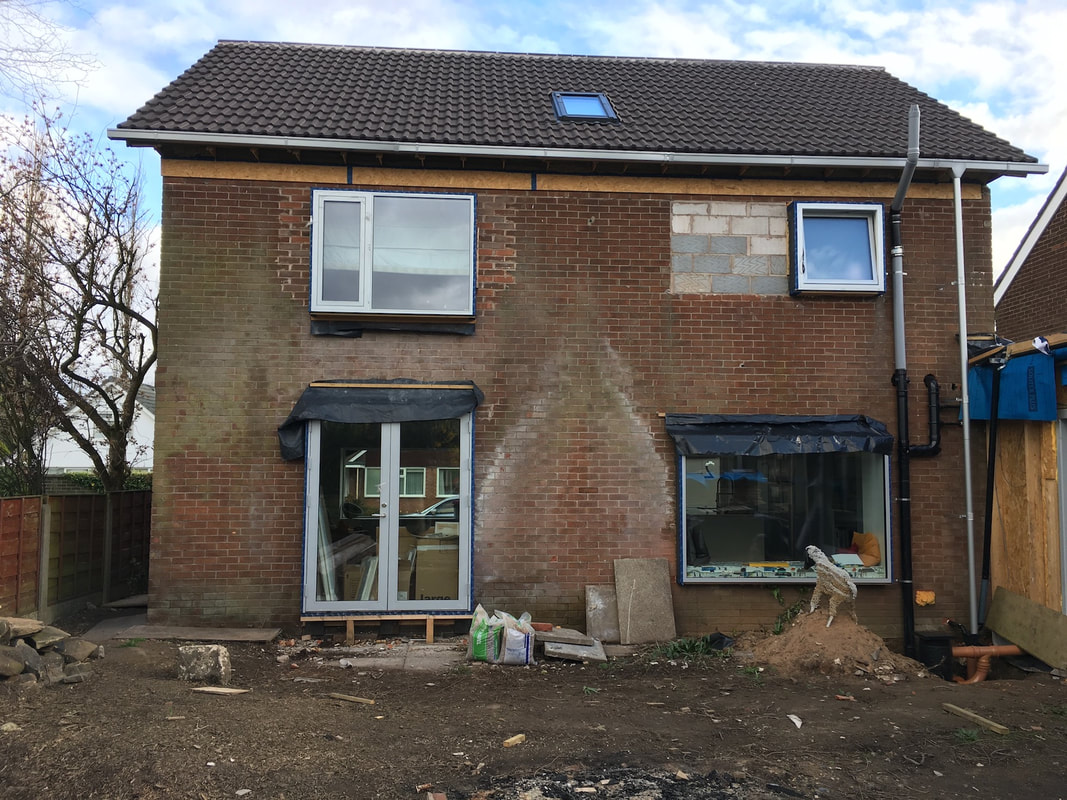
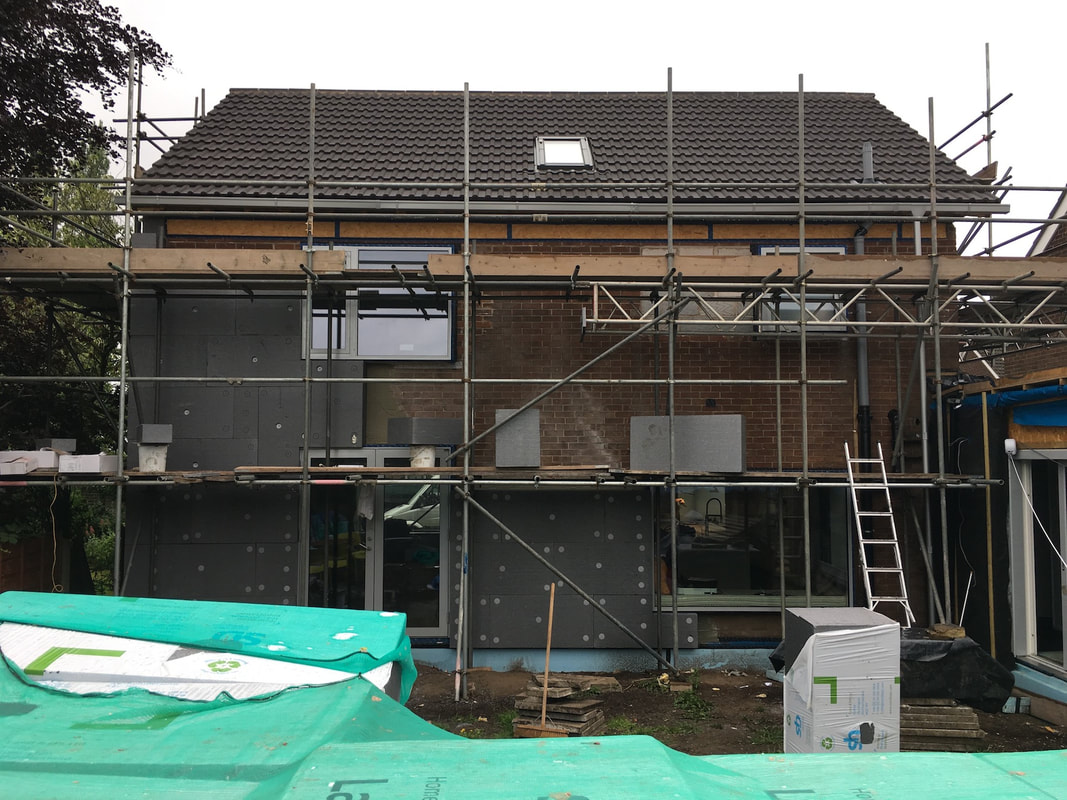
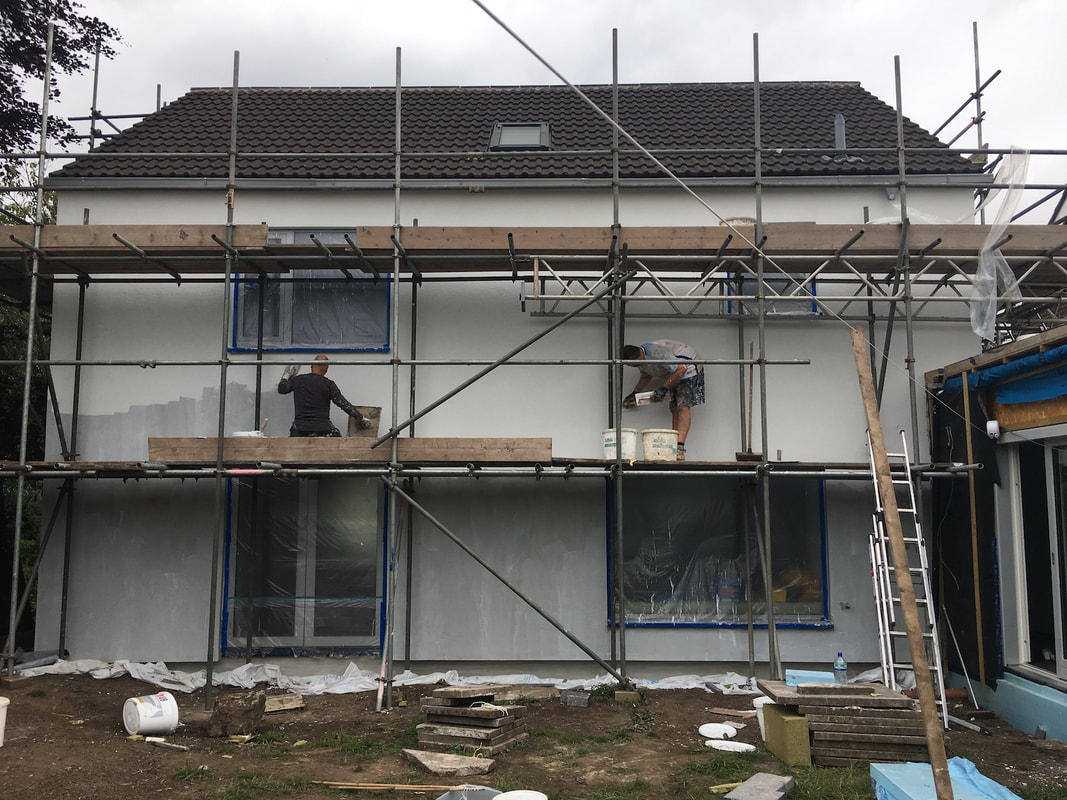
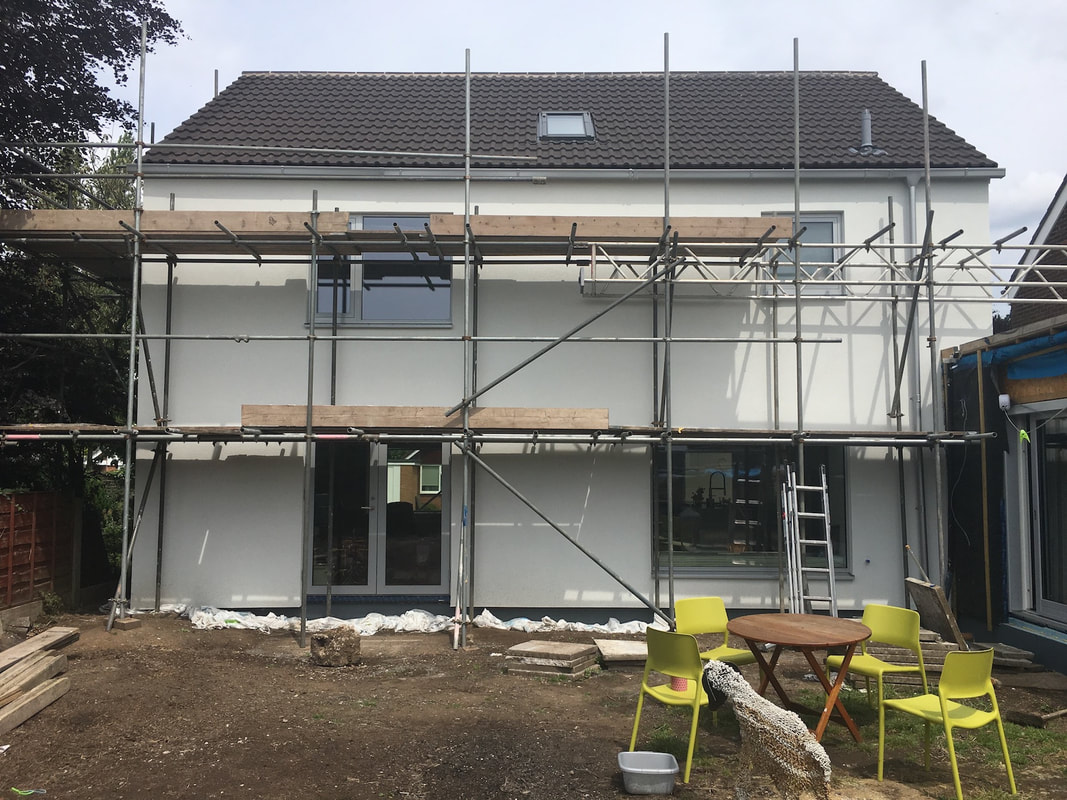
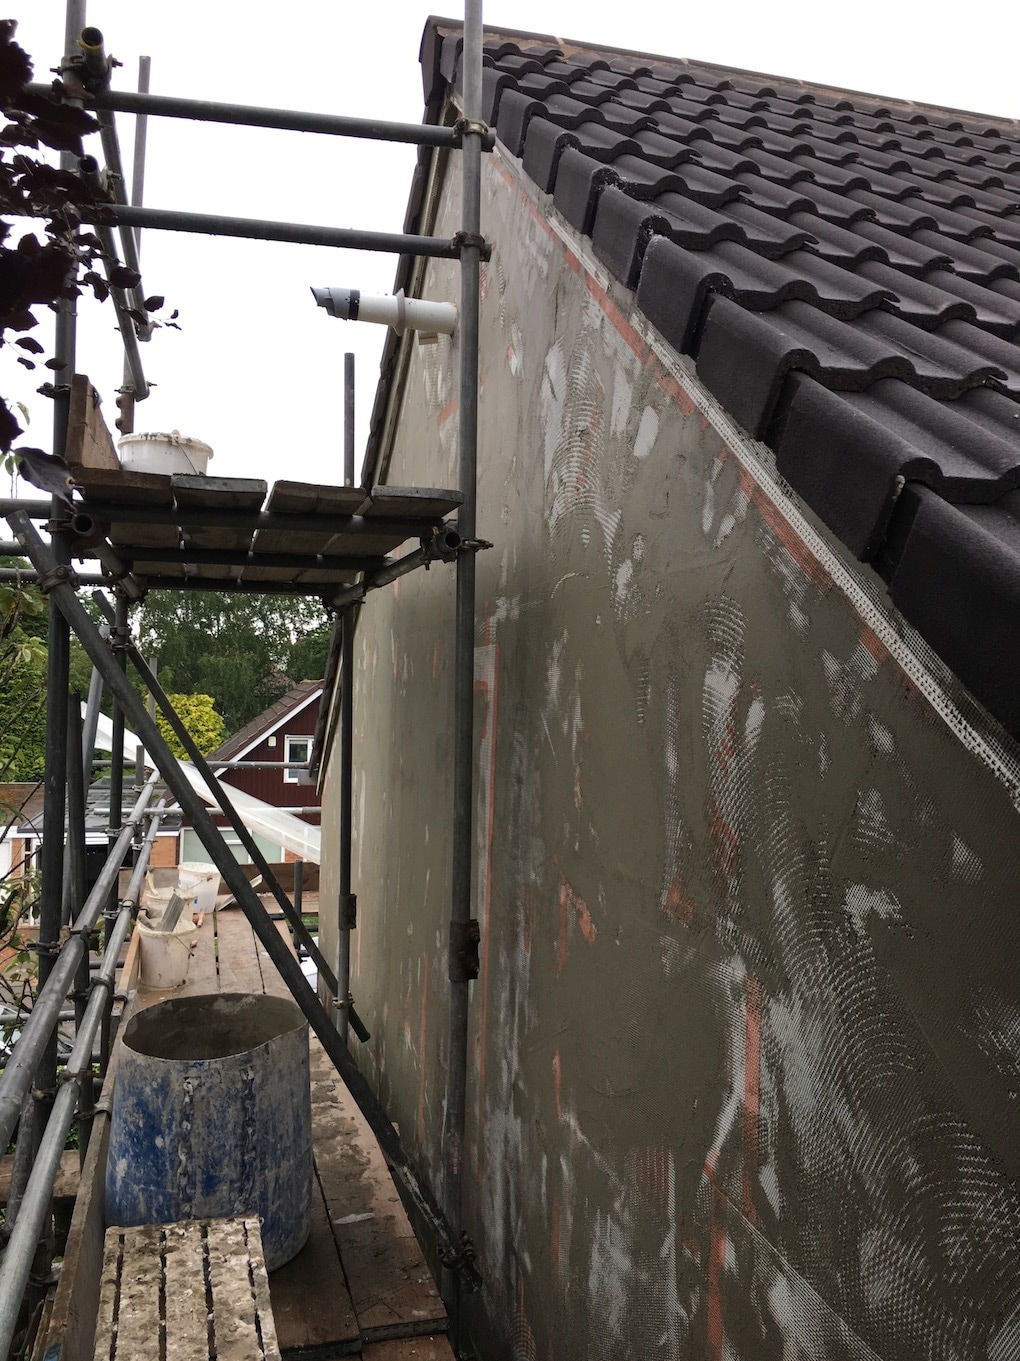
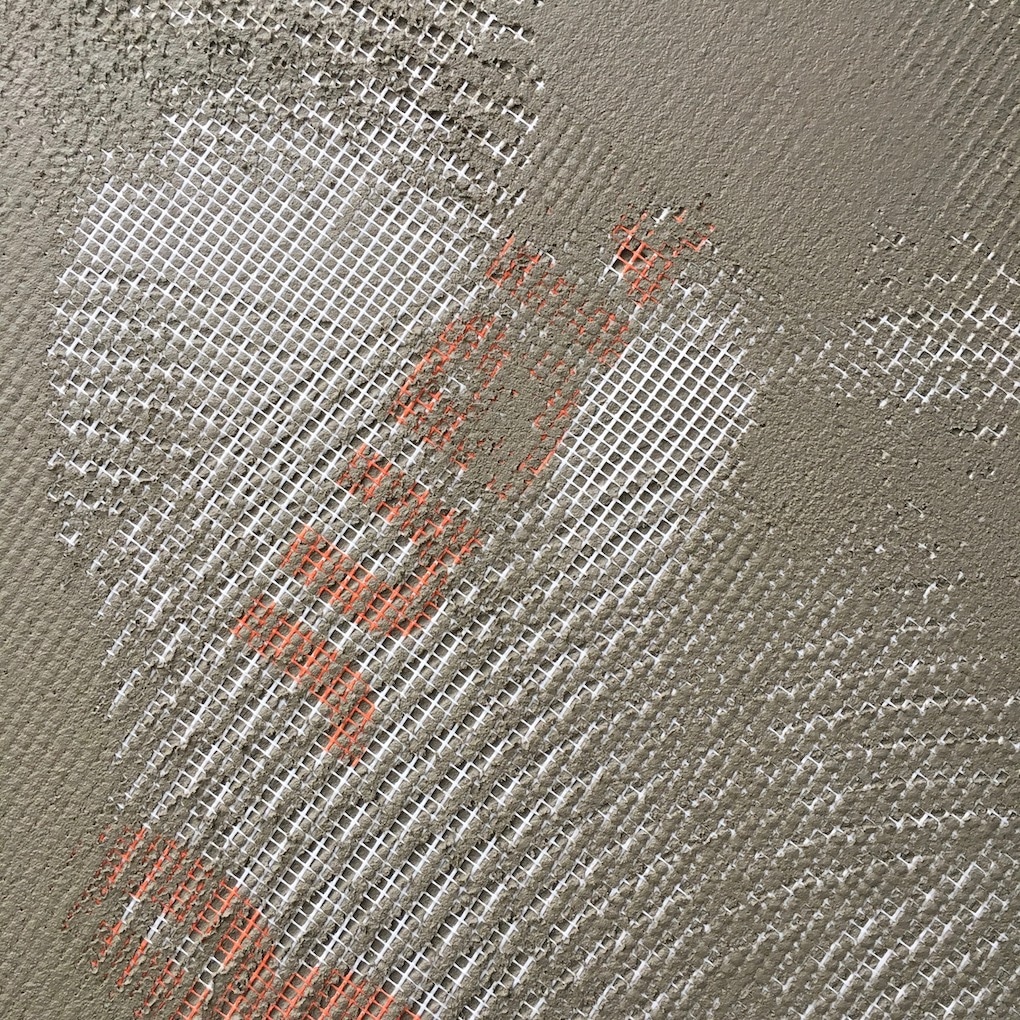
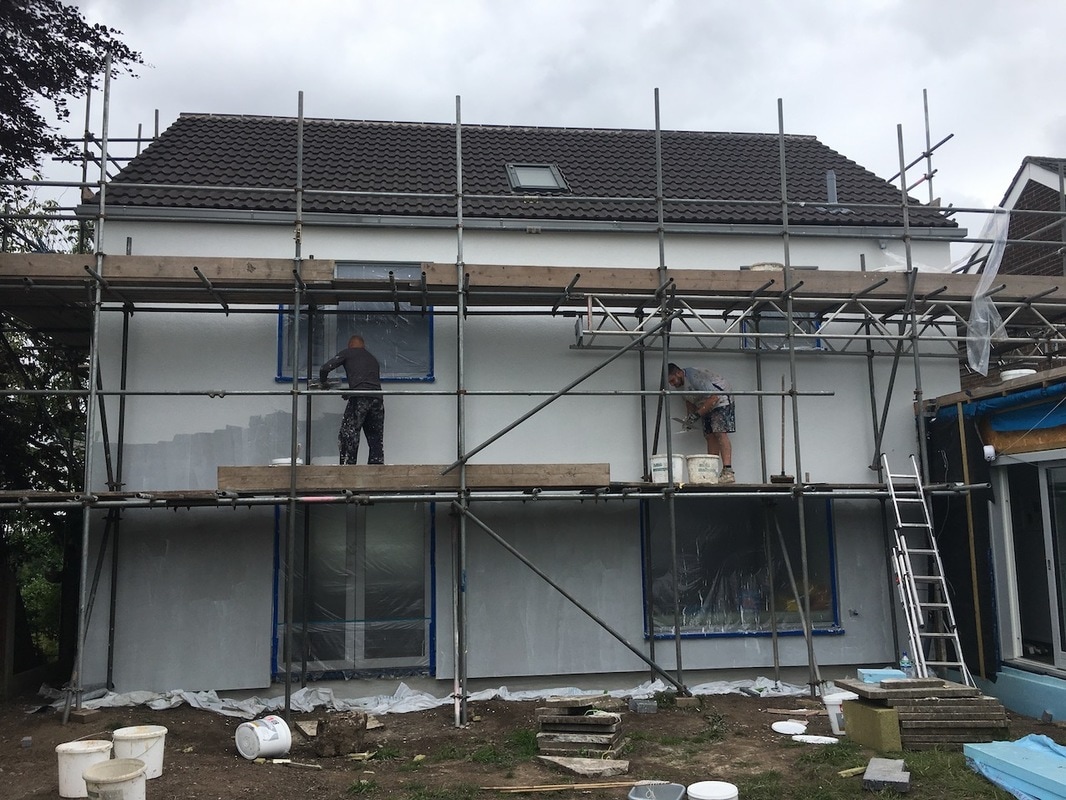
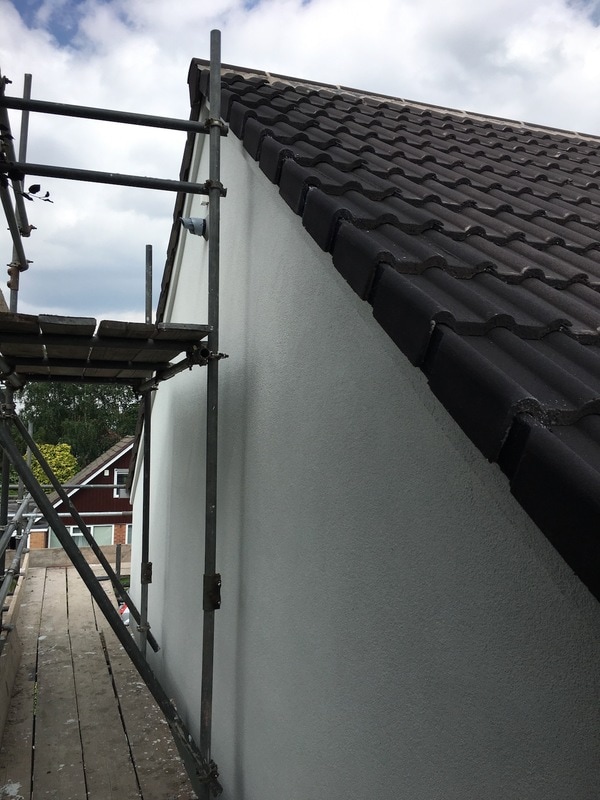
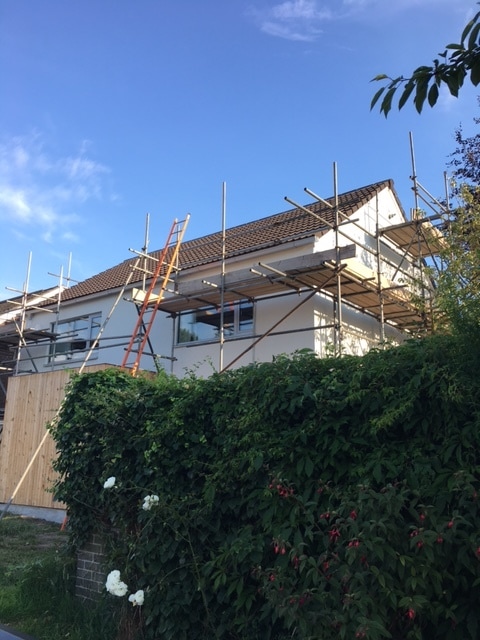
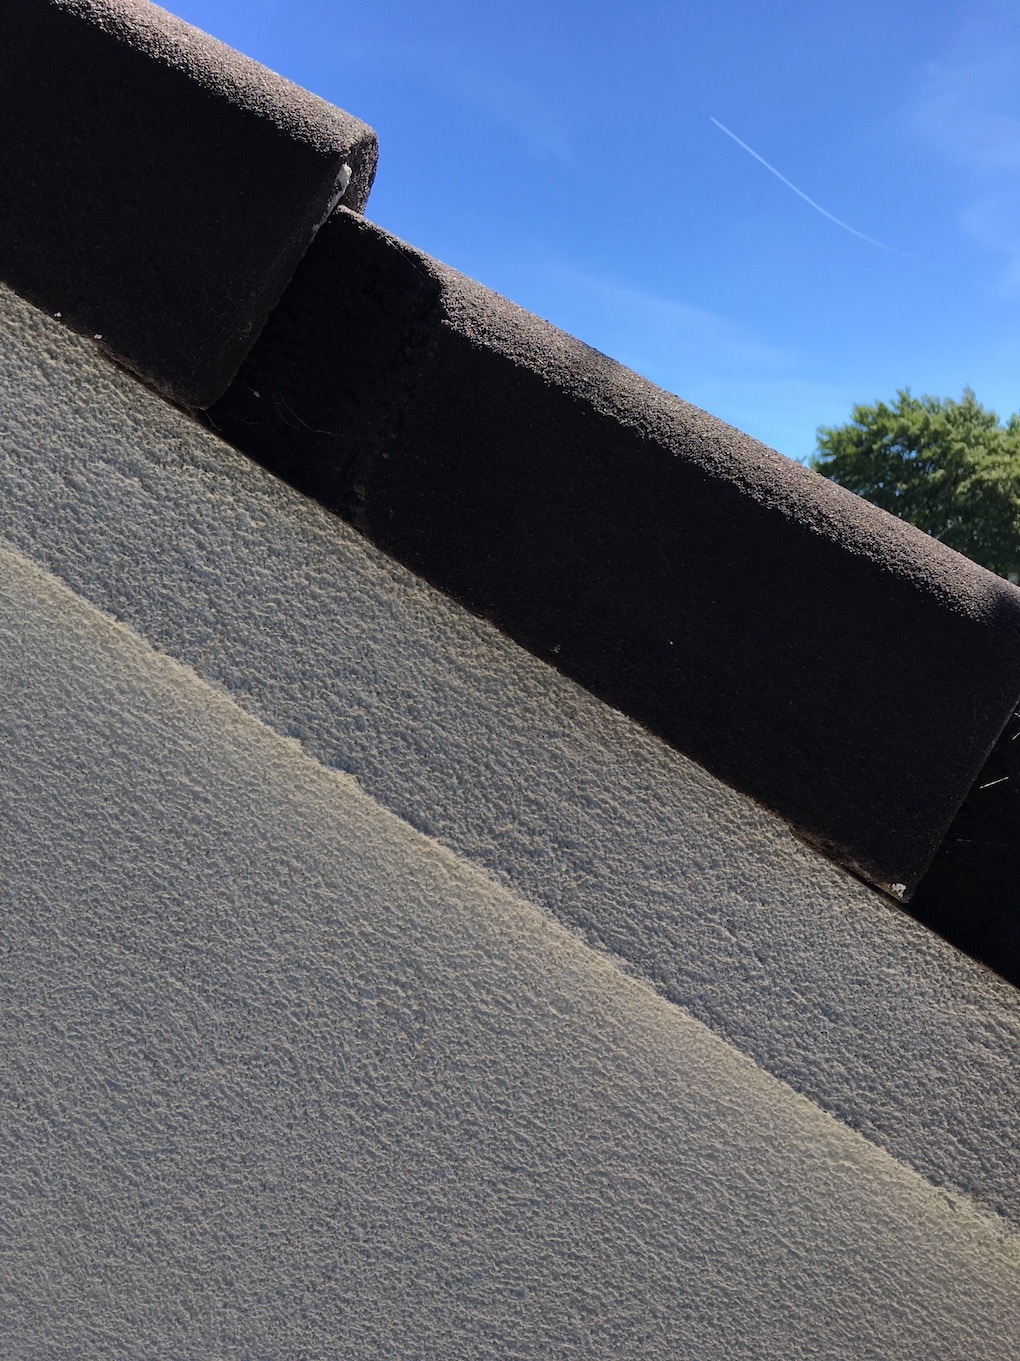
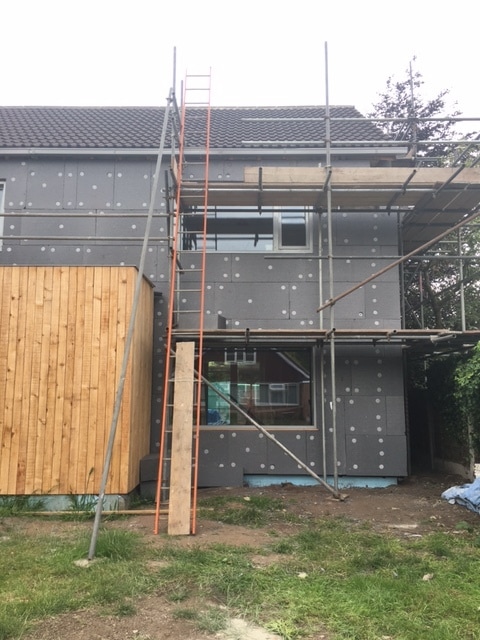
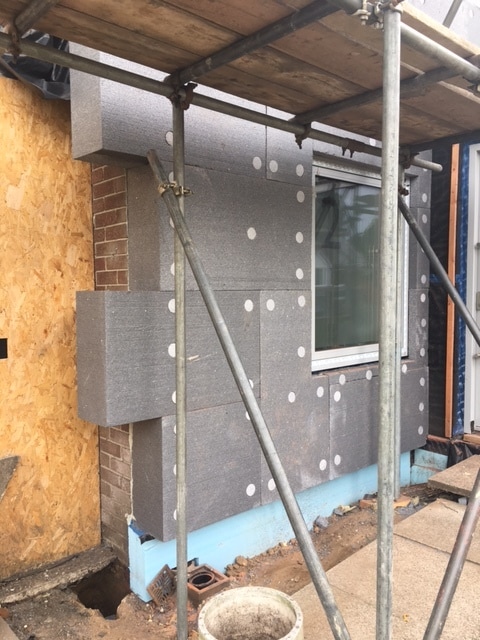
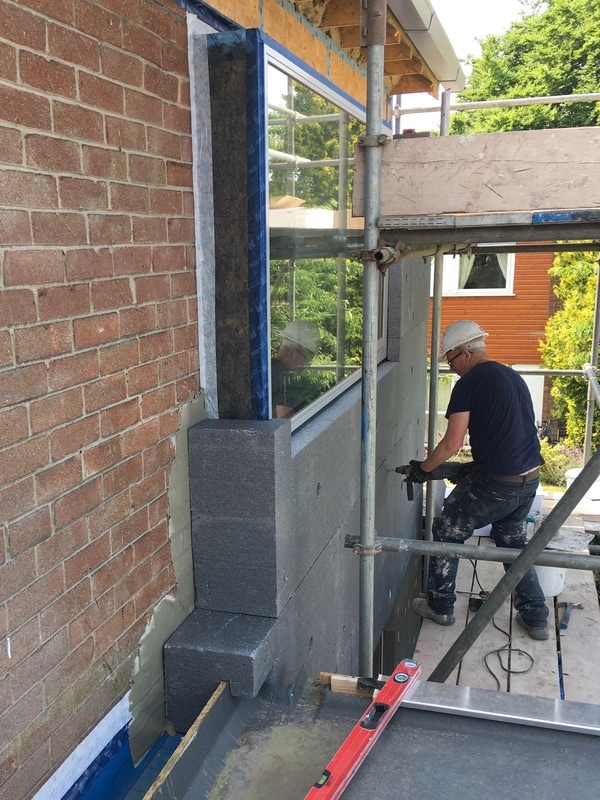
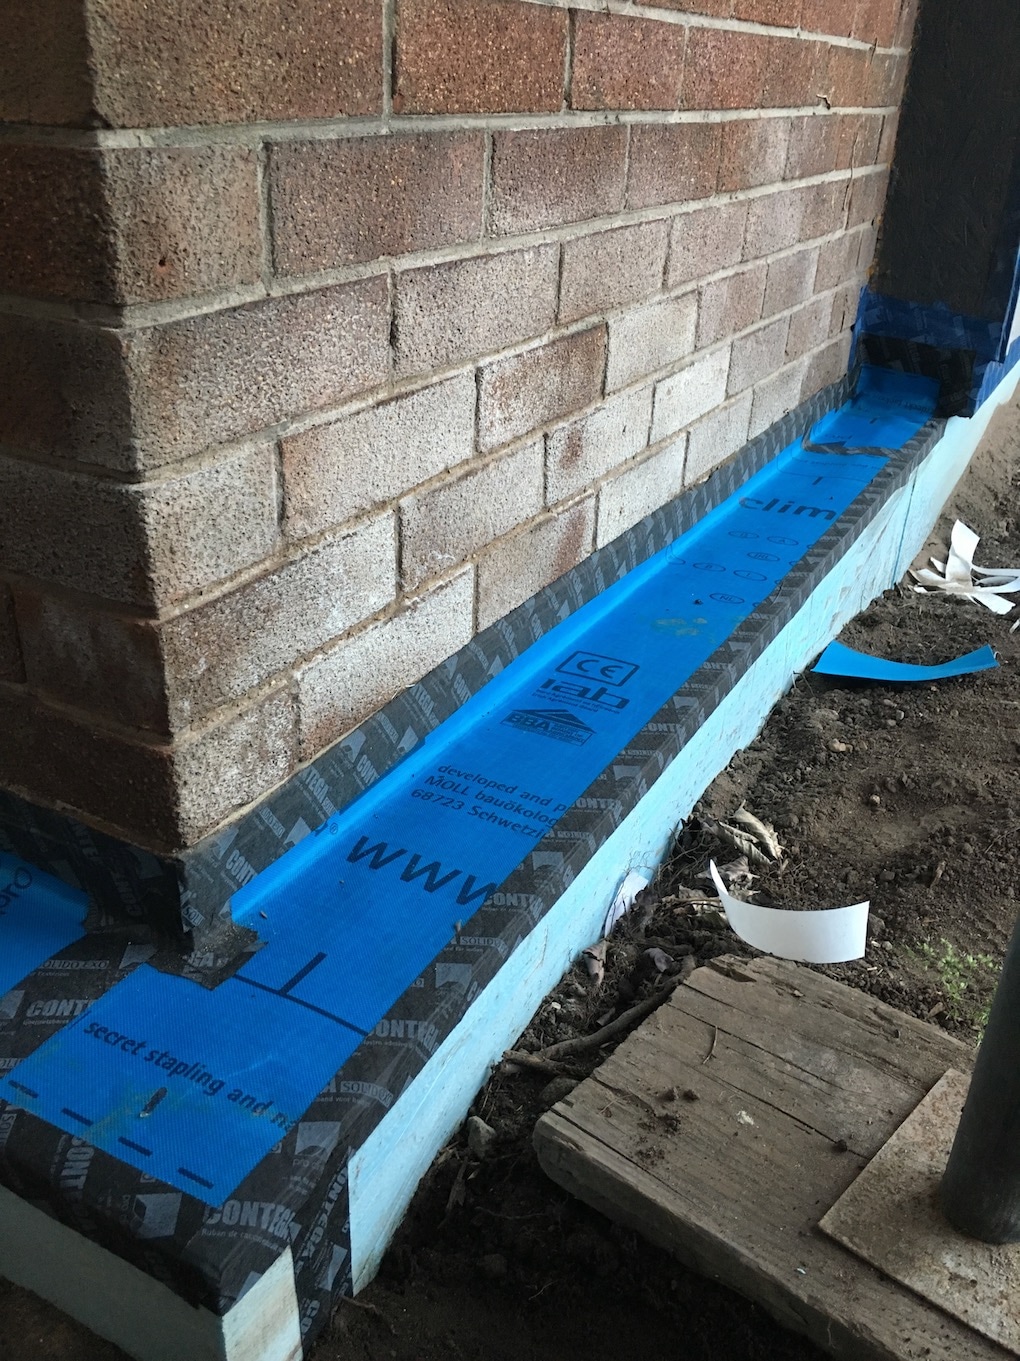
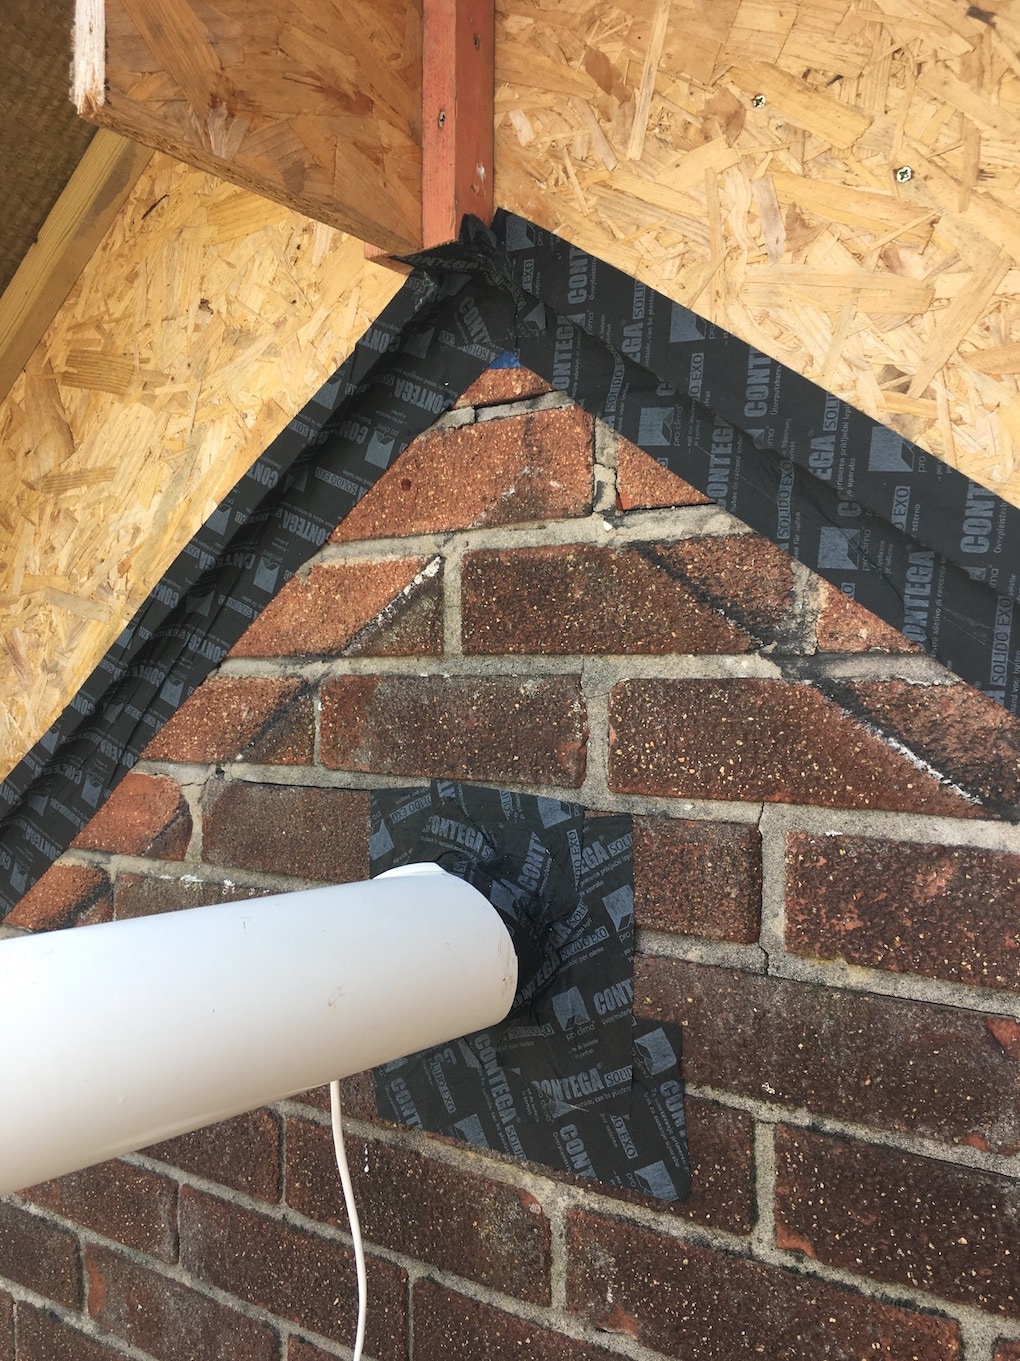
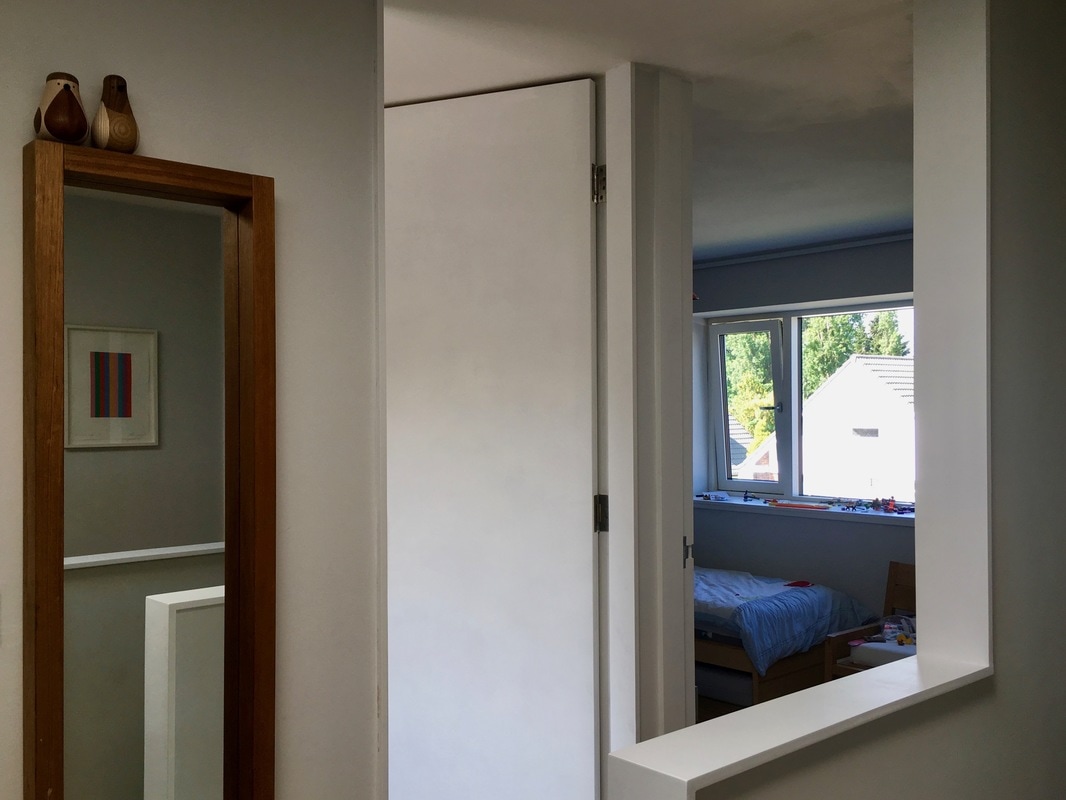
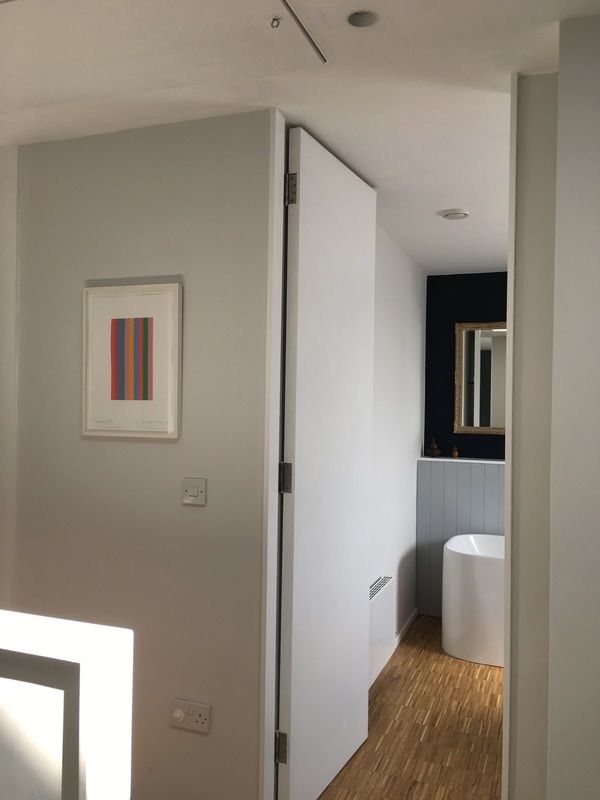
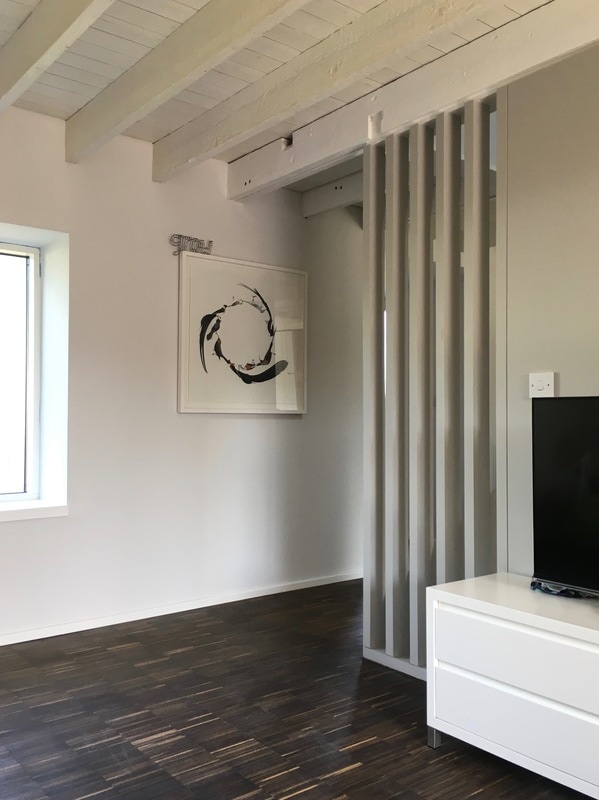
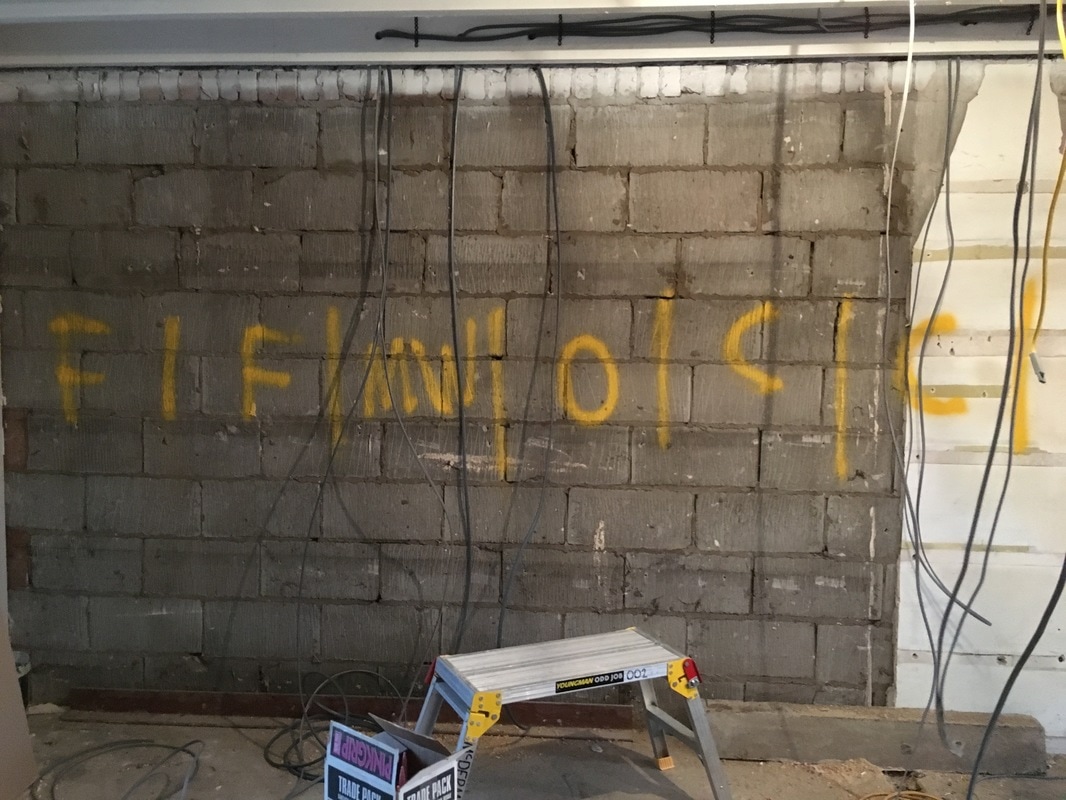
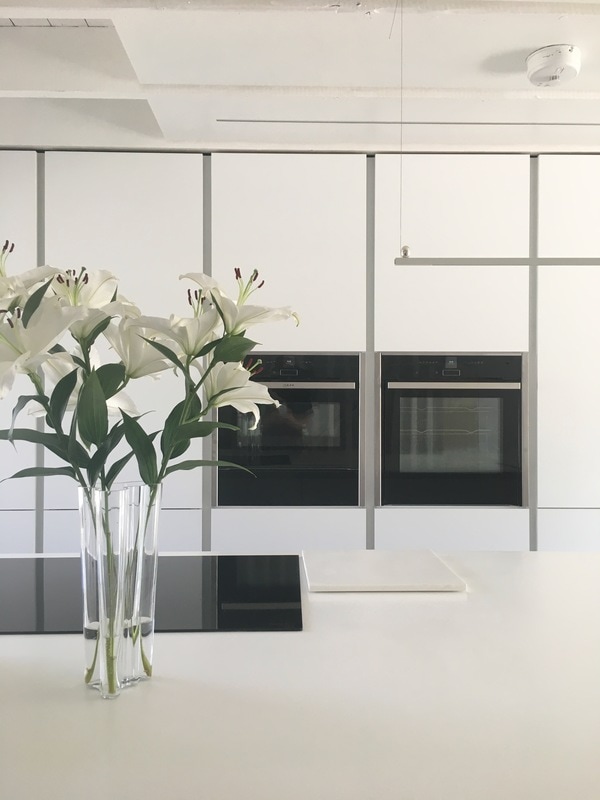
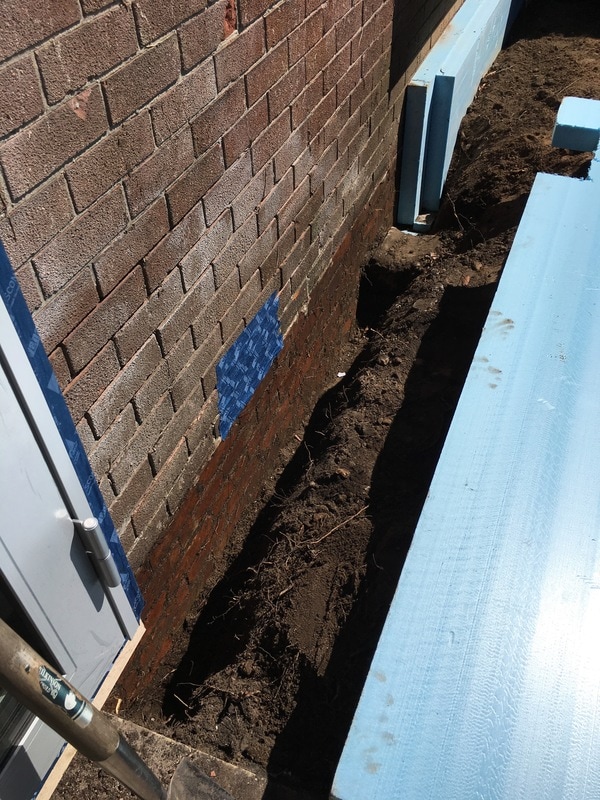
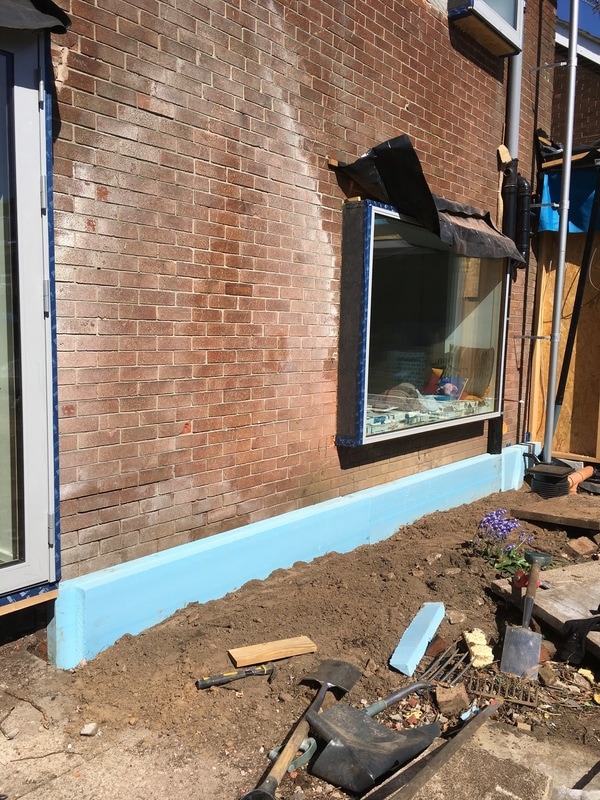
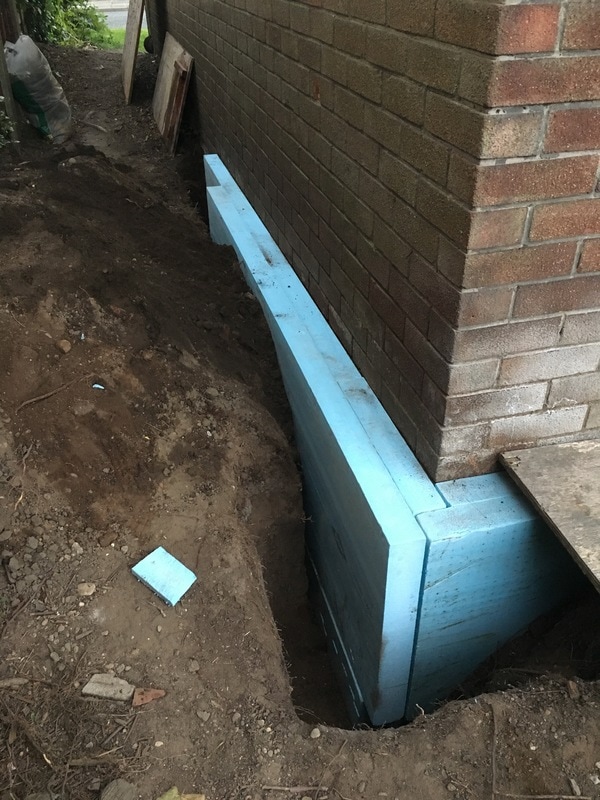
The second air-test was carried out last week with the help of Enhabit. The good news is that the results were significantly better than the first attempt: the not so good news is they were not quite good enough. We are still aiming for EnerPHit, (less than or equal to 1.0 air change/hr at 50Pa). If the loft volume is taken into account we managed an average 1.45 air change/hr at 50Pa, and if the loft is excluded it drops to 1.70. There is ongoing discussion with the certifier about which is correct, but since the loft is within the air-tight line this would seem the correct approach to us. Clearly the bigger the volume the better the result. Many areas of air-leakage were identified during the test, but the main culprit seems to be where the new build extension meets the existing house. Lesson learnt: don't rely on a single line of defence. Tape at every opportunity. 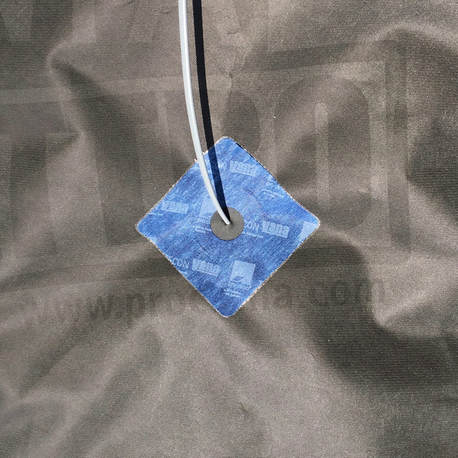 If only all the taping was this easy The insulation has been rendered and rather fine it's looking too. Starting with a cement based adhesive mortar, followed by glassfibre mesh, primer and then the trowelled silicon 'smooth' render finish coat, actually 1.5mm particle size. Very light grey. We're impatient to have the scaffold down, then we can see how it really looks. The external wall insulation works are being carried out by Pegasus Externals Ltd from Bradford, an approved installer of JUB systems. The insulation is 280mm thick graphite EPS (expanded polystyrene) made by S and B EPS Ltd in Northumberland. Lambda value is 0.032 W/mK. The boards are fixed by a continuous bed of adhesive (rendered on to the brickwork and thereby forming the air-tight line) and then mechanically restrained with EJOT STR U 2G anchors, 335mm long. Countersinking and plugging the heads halves the chi value (point thermal transmittance) from 0.002 W/K to 0.001 W/K, which doesn't sound a lot, but adds up when there are five fixings per board. Been busy the last few days, taping in preparation for the external wall insulation crew. Now it's a race to stay ahead of them as they chase me round the house. We are primarily using ProClima Contega Solido Exo tape (black) as the fine fleece facing is suitable to be rendered over. Also Tescon Vana (blue) where not being rendered. The insulation boards are adhered with a continuous spread of adhesive (like render) that effectively becomes the parge coat, and then mechanically fixed. Solido Exo is more flexible and forgiving than Vana, but both are super sticky, especially with Tescon Primer on the fairly rough brickwork. Thinking of buying shares in ProClima. Preparations are well under way for the external wall insulation to start next week. The scaffold is back up after 6 months away and the 'garden' is full of graphite EPS insulation. The perimeter XPS down to footing level is complete (not the easiest dig ever). Job for the sunny weekend is to tape between brickwork and window frames, and between brick and XPS insulation. There's another air-test planned for week after next and there's work to do to improve the air leakage rate. 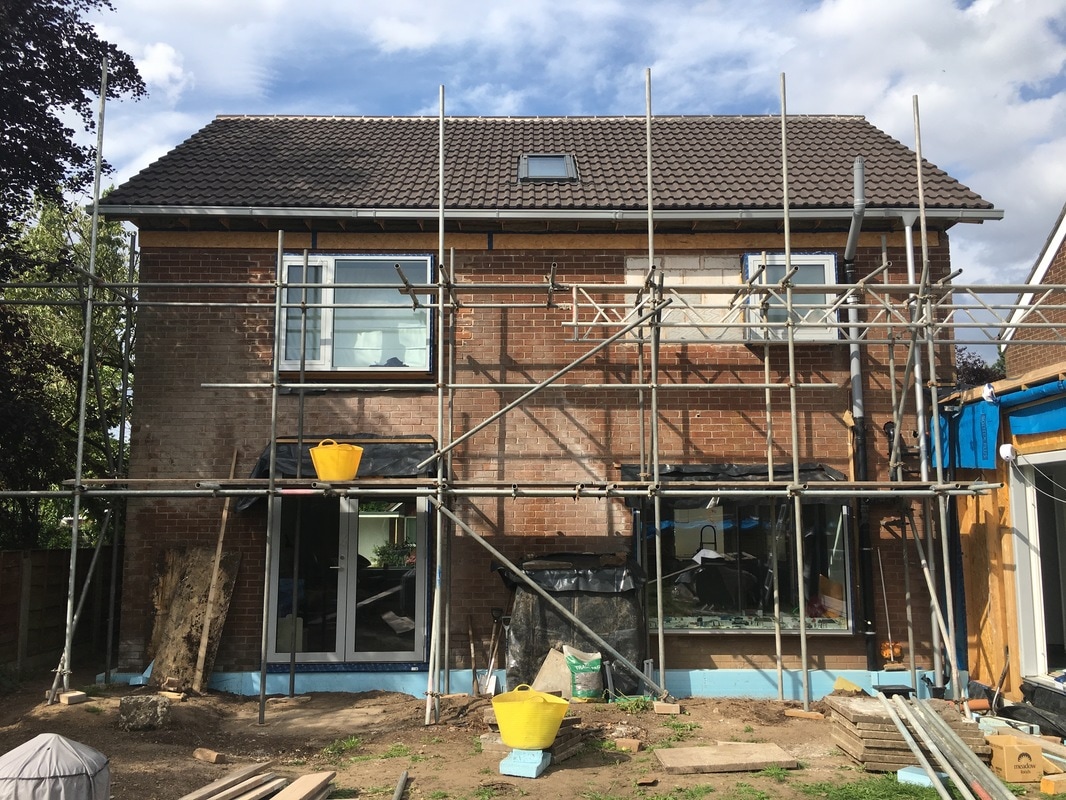 We had a little celebration last week, following completion of the internal decorations. Spaces somehow feel bigger for it, especially with a few pictures on the walls. We've spent the last few days digging a trench around the house perimeter to the top of the strip footings approx 750mm below ground level. The trench is then filled with 2 x 75mm Dow Roofmate XPS insulation, for nice cosy footings. We've decided not to continue the air-tight line behind the XPS because the timing doesn't work (EWI contract starting in a couple of weeks) and practically, difficult to do effectively three feet down! So there's a detail to be developed at dpc level to reduce the risk of air-leakage for the few inches exposed above ground. |